Showing posts with label canning. Show all posts

04 May 2012

Food Storage Friday: Strawberries!


I just thought that title sounded fun.  I am happy that it is Friday though.  I'm also happy that I have no more strawberries sitting in my house, waiting for me to do something wonderful with them before they self-destruct.  Our local grocery store had a great deal on a flat of strawberries and pectin, so naturally, I along with every other woman in the area decided to make jam.  My husband was thrilled, since he's not been too big on my mock raspberry jam.  He would never have known my secret ingredient if he hadn't come home early.

http://thefrugalgirls.com/2012/04/how-to-keep-strawberries-fresh.html
Unfortunately, I wasn't able to get to those strawberries for two days and by the time I did get to them, they were going downhill fast.  I hate wasting so much fruit.  About that time, I ran across this little tip to keep strawberries fresher, longer.  So of course, I had to go buy another flat of strawberries to try it out.  This time, I went through the strawberries sooner.  I washed them and sorted out the berries that needed immediate action and put the rest aside.  I don't know if it was washing them in vinegar, or being more diligent in taking care of them, but this bunch of strawberries did much better.

It occurred to me, as I was stirring in those ridiculous amounts of sugar, that I should find a more healthy way to enjoy this spring-time fruit later on.  I know there are low-sugar and no-sugar jam recipes out there, but I never think of them until I'm elbow deep in strawberries, pectin and sugar.  Even though I know that sugar is the main ingredient in jam, I'm just always blown away at how much!

http://www.housingaforest.com/healthy-dehydrated-fruit/
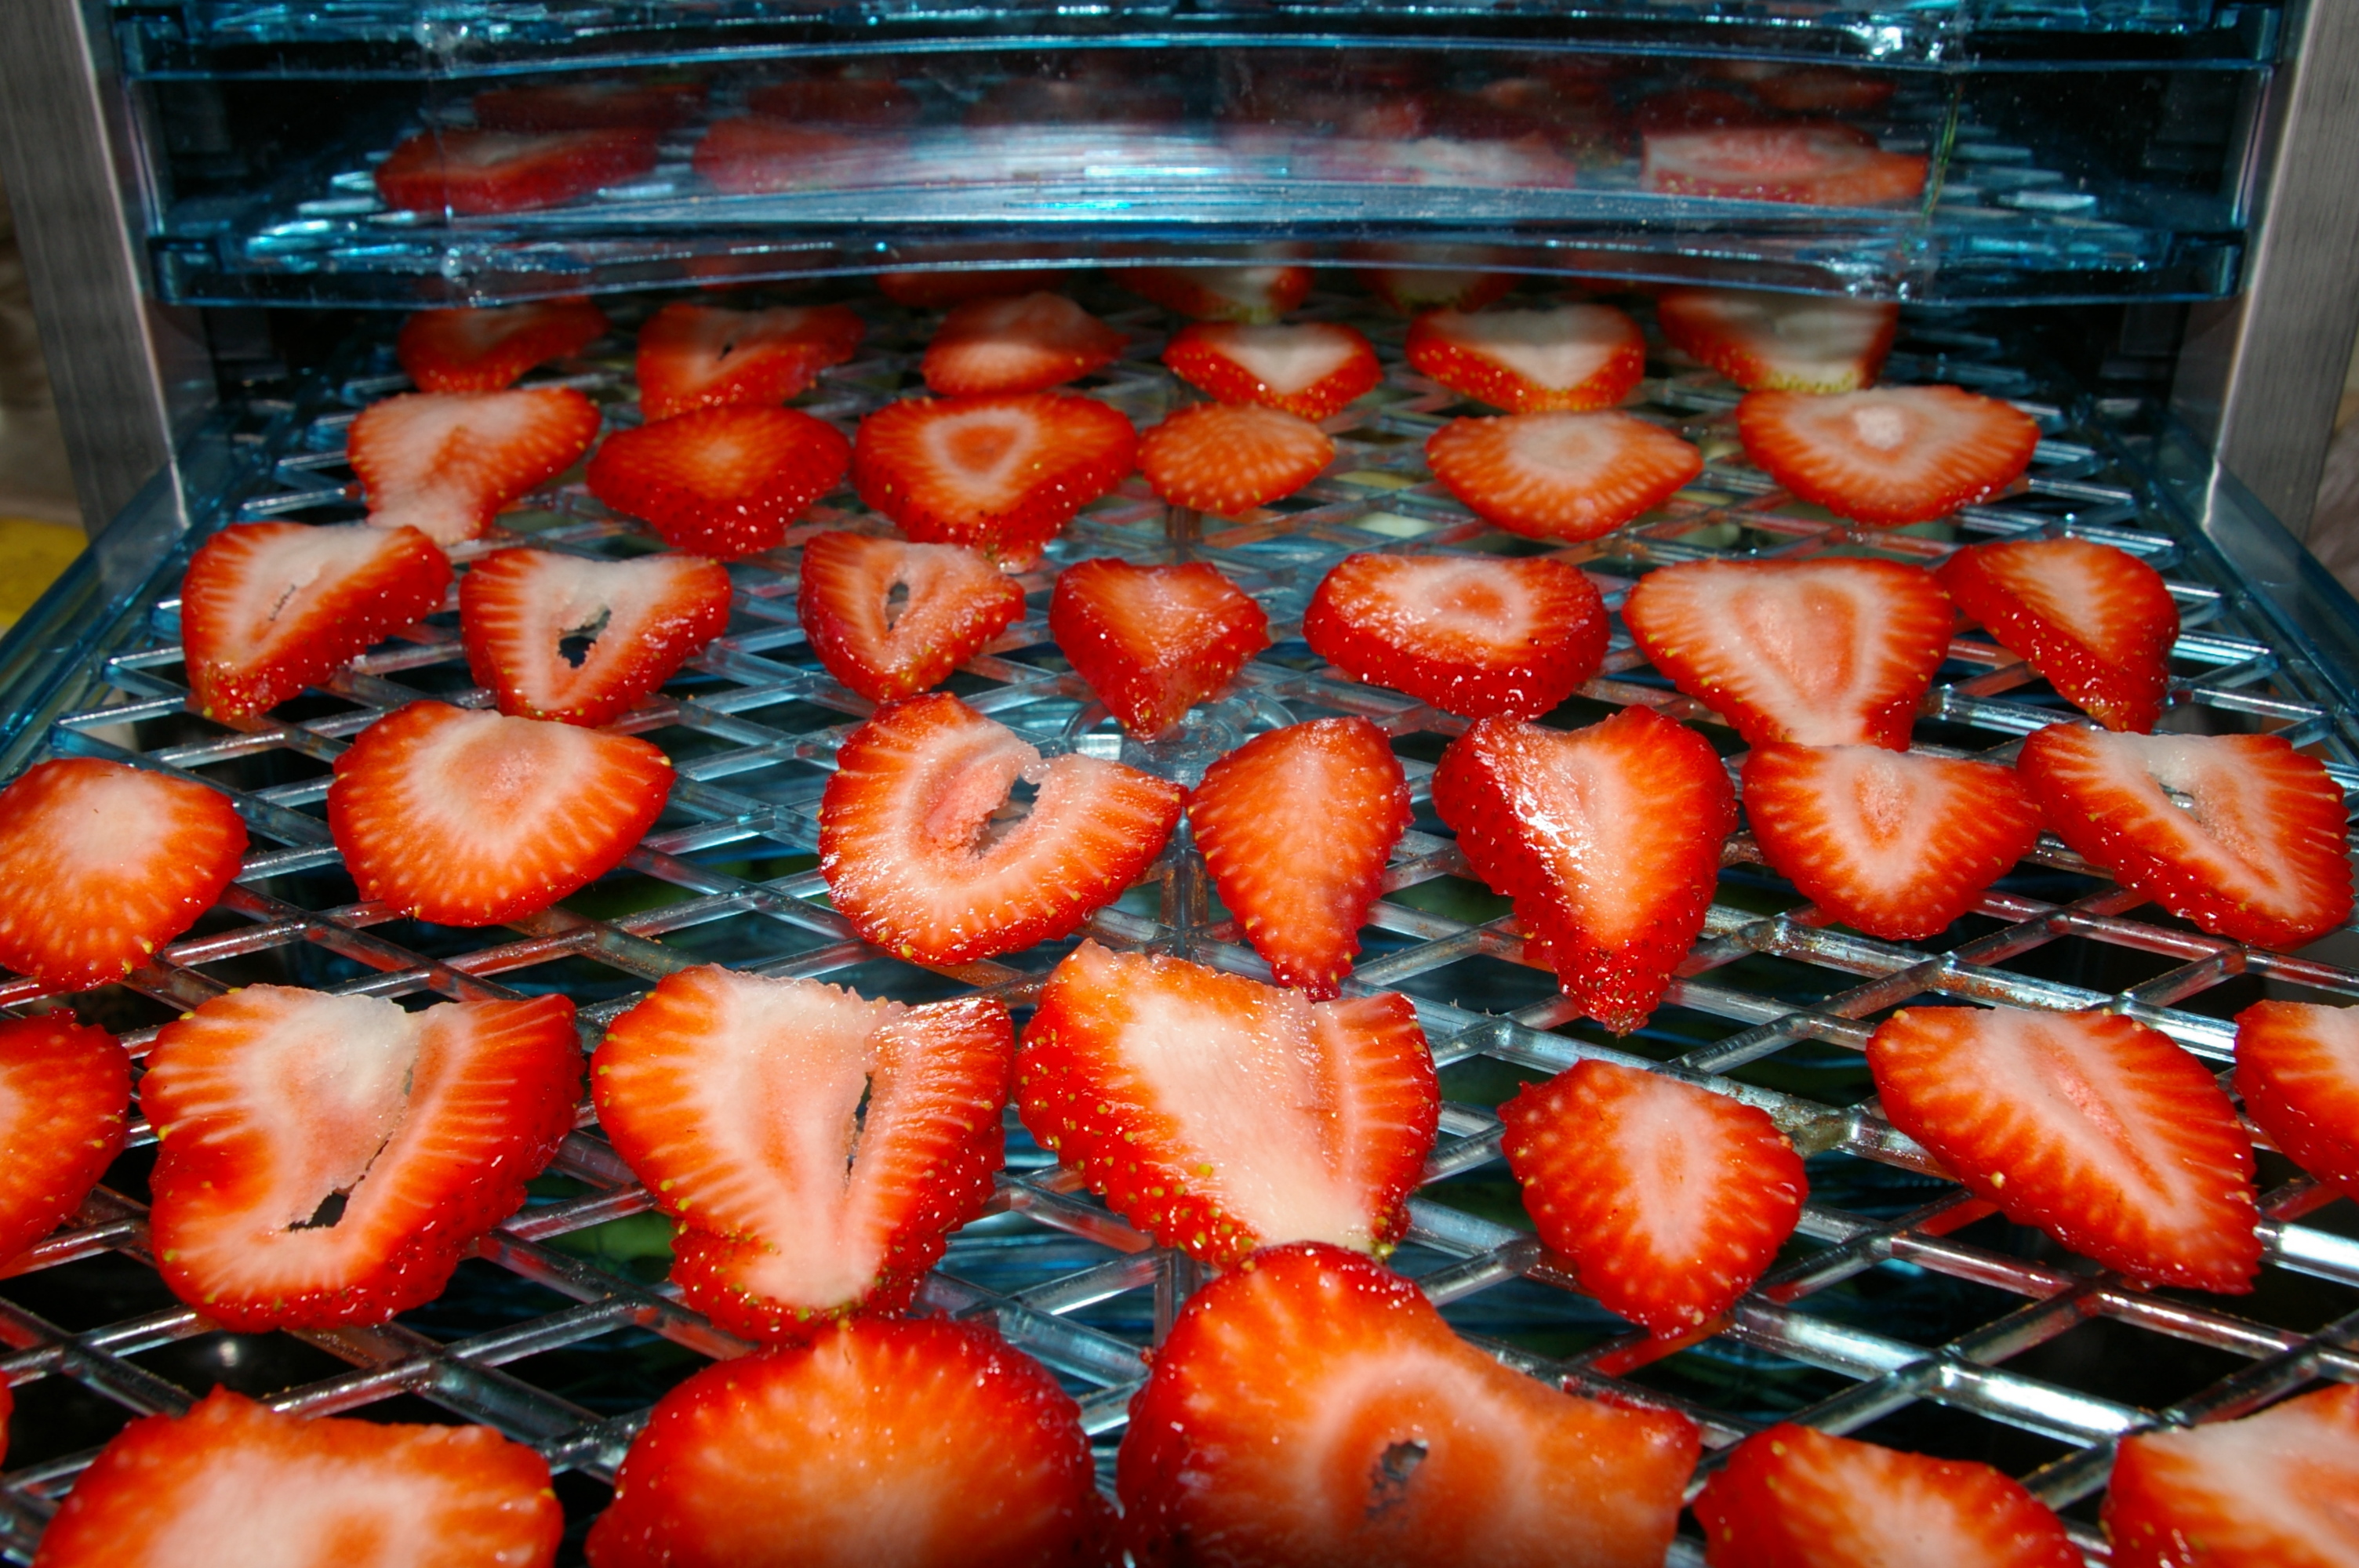
Apparently, I'm not the only one with strawberries on my mind, because a friend pinned this blog about drying fruit.  And the lightbulb came on!  I have never tried dehydrating strawberries, but I don't know why.  It is so easy!  Well, except for the slicing uniformly part.  If I had an egg slicer, it would have been easy-peasy, but I had to free hand it.  I tried a few.  My husband ate them on his cereal and asked for more.  So I made more and then more.  I'm thinking of running back to the store again to see if the deal is still on so I can make even more, but that would mean sorting strawberries again.  I'm not even sure how many strawberries I dried, but I have about 6 cups of the yummy snack sitting on my pantry shelf.  If my daughter finds the stash, it will be gone quickly.  She already finished off the dried apricots from last fall as well as most of the peach fruit leather.  It's such a healthy snack, I don't really mind her eating them, but I would like them to last a few months!

My total (so far) tally of preserved strawberries:

6 cups dried
5 pints canned jam
13.5 pints freezer jam

I think I will pedal on down to the store again when the little one wakes up from her nap... or maybe not.

Update:
Now that the sale is over, I found some more recipes for preserving strawberries.
No sugar strawberry freezer jam
Low sugar freezer jams
Dried strawberries (in the oven)

Happy preserving!

09 November 2011

What to do with green tomatoes?

Trying to grow tomatoes in a cold climate automatically means that you will end up with a lot of green tomatoes at the end of the season.  Even in this warmer climate, I wound up with many unripe tomatoes.  In the past few years, I've been experimenting with different things to do with these little guys, since I don't want to waste anything that can actually be used. 

Of course, there's the cool sounding fried green tomatoes, which I don't really care for unless they're not truly green.  Even when I do make them, I'm usually the only person that eats them, since they just look funny to everyone else.

In past research, I was surprised to find that the green taco sauce (that my dad has to have) is made from green tomatoes.  I found a few recipes online (this one is complicated.  There are simpler ones) and tried it out.  It turned out too hot for my kids, but the adults liked it.

I have also made green tomato relish, which tastes just like the relish that everybody loves on their hot dogs.  I'll post the recipe at the end of this post.  My mother has been busy canning jars of this all fall after my sister dumped a few boxes of green tomatoes in her lap.

Since the relish is already being covered, I decided that this year, I wanted to make mock raspberry jam with my green tomatoes.  Don't laugh, it really turns out looking and tasting like the real thing.  The texture is right and the tomato seeds look like raspberry seeds.  I couldn't find my recipe though, so I was thrilled to see the recipe posted at a friends blog, Home Maid Simple.  I guess I'd better get busy sorting and washing my tomatoes.

I have also just been informed that you can make a mock apple pie with green  tomatoes, but I don't think I'll try that just yet.

What have you done with your green tomatoes?

Green Tomato Relish

Grind and drain:
13 cucumbers
6 onions
20 large green tomatoes
2 green peppers
2 red peppers (or green or yellow...)

Add:
2 tsp salt
1 tsp pepper
1 tsp ground cloves
8 cups sugar
4 cups vinegar

Boil 1 hour

Make a paste:
4 Tbs flour
2 Tbs dry mustard
2 Tbs turmeric

Add paste and stir until thick.  Can pints in water bath for 10 minutes (4500 ft elev).  16 minutes above 7000 ft.

09 August 2011

Canning rhubarb

It was just one of those days yesterday.  One of those days that I actually accomplish things.  I love those days.  In spite of sleeping in a bit and dinking around on the computer for a while and then looking up at the clock to see that it was already 11:30(!) I still got some things done.  Or maybe it just felt like it.

Two loads of dishes in the dishwasher and two loads of laundry were washed (but not yet put away).  A double batch of bread was baked.  Two summer squashes were cut up and dehydrated (an experiment).  And two jars of rhubarb were canned.  There was a little trip to the grocery store in there somewhere and then the evening was spent transcribing a couple of interviews that my husband needed for a school project.  He still owes me a massage.  I was too tired last night to collect it.

The rhubarb came from a neighbor.  He swore that they didn't want it and they were leaving on a trip anyway, so I just needed to take it.  I have this rule of never turning things like that down, even though I had no plans for rhubarb anywhere in my head, yet.  My girls decided that the rhubarb stocks looked good enough to chew on, so thinking I'd get a fun show, I let them have some.  The baby was hilarious with her little sour-face spasms and then going right back at it.  They stuck with it for a lot longer than I expected. 

I decided to make a few pies, even though my husband is not a big fan of pie.  He says the crust is too much.  Plus, he's a bit wary of rhubarb tainting the fruit.  So I generally save the pie making for when I'm at my parent's house.  However, there was a neighborhood cookie social coming up and since I didn't have all the ingredients for cookies, but I did have the ingredients for a pie, I made some strawberry rhubarb pie.  The kids and I made mini pies out of the extra stuff in the muffin tin.  Those disappeared quickly.

To my surprise, my husband bravely ate some and liked it!  This is a momentous occasion in our marriage.  He even had some for breakfast this morning.  I always eat pie for breakfast if there is any.  It just tastes so good! 

After the pie making, I still had some rhubarb left over, so yesterday, I canned it.  I'll probably give it to my mom, since she makes pies much more often than I do. 

To can rhubarb, cut stocks into about 1" pieces. 
Add 1/2-1 cup of sugar per quart of cut rhubarb.
Heat up a bit so the sugar becomes a syrup.
Put into sterilized jars and can in a water bath canner.
The starting time is 10 minutes and then you add 1 minute for every thousand feet above 1000 feet.  So here near 5,000 feet, it was for 14 minutes.

Now you'll have rhubarb ready for your desserts all year long!

Well, look at that.  It's 11:30 again.  Guess I'd better get something done today too!

21 May 2011

Canning dry beans in the pressure canner

This week for the preparedness challenge, I thought I'd share a skill I'm working on instead of the next step of the 72 hour kit.  We were traveling this week, so I didn't have a chance to work on the 72 hour kit much.  Besides, canning is an important skill plus,  I'm a bit lazy, so this is what you get.

We spent a few days this week visiting my mom.  The weather wasn't great, but we got outside a bit anyway.  Spring is just barely peeking out there.  Her tulips were blooming and the grass is turning green under the snow they got during the night, but that's about the only color you see other than the brown mud everywhere, but that doesn't really count.

We did not use this old stove


My mom took full advantage of my presence and started canning beans.  Canning dry beans takes a pressure canner.  Pressure canners are just scary enough to stop us both from doing much with them when we're alone.  Together, we have just enough courage to do it.  For Christmas, I bought two new pressure gauges for her two twin canners.  (She has several, I don't know where they all come from)  This was the maiden voyage for those gauges.  *Get your gauges checked every year to be safe.  We took ours (hers) to the county extension office and they took them to a neighboring county since their tester thinger was broken.*

At the last minute, mom decided to use her antique canner that has been handed down from mother to daughter since my grandma's grandma.  It's pretty cool looking and the gauge was actually accurate.  (she tested it too)  She chose to use it because it is tall and she wanted to try canning some half gallon jars of beans for those times that we are feeding a multitude.  There is surprisingly little information online about this particular canner.  I looked because I was nervous.  (I did learn that half gallon jars aren't really well tested with the pressure canner.  So keep that in mind...)  The valve things on this baby are complicated and a little scary.  Mom cranked up the heat and then decided to go see if my sister had any potatoes she could borrow.  Sneaky lady left me there wringing my hands, not knowing exactly how to run the thing.  It does look scary with steam pouring out the copper valve... kind of bomb-like.

It was a funny turn of events for me to be standing on the balcony calling for the neighboring house to send mom home.  How many times had she stood there and called for me when I was a girl...?

We survived with no mishaps, thank goodness.  I know I make a big deal out of a not so big thing, but I'm a coward, I guess.  Maybe it's the gauge and valves that make the pressure canner look so scary.  It's really not that complicated, if you read the directions and keep them handy because you will forget exactly when you are supposed to turn the heat down.

Why can dry beans, you ask?  They store perfectly and almost forever in their dry state.  Seems like a bit of work just to get beans in a jar.  But, for a person like me that only remembers that I was supposed to soak beans about five minutes before I need them for the meal, beans in a jar are a valuable commodity.  The funny thing about this process is... you have to soak the beans.  I'm a dork, I know, but it makes sense to my silly brain.  Better to soak a bunch of beans and get them all cooked at once so I don't have to remember in the future.

Here's the process we went through, just in case you want to know...

-Soak the beans.  I know a lady that says you don't really need to do this step.  You can measure out the dry beans and soak them right in the jars if you want.
-Put beans into the jars.  Dry bean measurements are: pints 1/2 cup beans  quarts 3/4 cup beans.  I know that doesn't make sense. Two pints to a quart,  but 1 cup of beans in a quart jar is just too much.  I know, I tried.  We soaked all the beans together and then divided them into the jars.  The jars will be just over half way full with soaked beans.  I've heard that people cook the beans first, but I don't.  They cook a bunch in the canner.
-Top off jars with water, leaving 1 inch head space, then wipe the rim of the jar.
-Put lids on.  I've read to warm the lids in a pot of almost boiling water, but I forgot.
-Our canner said to put two quarts of hot water into the canner... follow the directions with your canner as far as venting, etc.  We vented for 10 minutes and then put the doo-jobby on.  My mom calls it a stop-cock.  I prefer doo-jobby.
-For our elevation, we brought the pressure to 14.  To find the correct pressure, look in a canning book or in the instructions that came with your canner.   I would go with the canning book if it's up to date.
-Let cook for 75 minutes for pints, or 90 minutes for quarts.

Happy pressure canning!


I'm linking up with Homestead Revival's preparedness challenge!

22 November 2010

Food Storage: How to use canned chicken

I was wary of canned chicken for a long time.  It just looks awful.  Really awful.  I didn't see the value of taking something I was perfectly comfortable with -frozen chicken- and turning it into something so scary and unusable.  Then, my freezer became full.  And I found a great deal on chicken.  A big box of chicken.  So, my mother and I pulled out the pressure canners and went to work.  When we were done, we had a bunch of nasty looking jars.  Usually, a bunch of full jars is a source of joy for me, but not this time.  I thought the money spent on that chicken was a waste.  I could never bring myself to use it and my husband would not be able to swallow it.  He's a texture guy, you know. 


Then I tried thinking of recipes that could use the chicken, since I hate to waste so much food.  I came up with chicken enchiladas.  I figured the chicken is so covered up in there, it might just work.  So, while my husband wasn't watching, I opened a can and chopped up the chicken inside, which is very similar to tuna in feel and texture.  I made the enchiladas and watched to see if he would spit it out on the first bite. 

He didn't.  He ate a few helpings and then complimented me on how good the enchiladas were that night.  Hmmm.  Not what I expected at all.  I was amazed actually at how good they were too. 

So that gave me courage to try more recipes.  Chicken chili is good, as well as a chicken tortilla soup that we like.  I'm going to try a chicken salad soon and see how that works out, but I don't often make that, so we won't have much to compare against.  Really, anything that takes cooked, cut up chicken would probably work great with canned chicken. 

I never thought I would admit that I like canned chicken, and you certainly won't see me eating it straight out of the jar. (shudder)  But, I like that it is already cooked and ready to go, and I love that it isn't taking up valuable freezer space.

Hopefully tomorrow I can type out a few of these recipes, but not tonight.  I have to go put away that chicken chili we ate for dinner.

14 October 2010

Living off of food storage: addicted to canning


Have you ever felt addicted to canning?

Two years ago, I had the sudden urge to fill the shelves. We -my mother, two sisters and I- canned over 700 jars of everything. Jams, currant syrup, beets, tomatoes, soup, salsa, chili sauce, apples, applesauce, spaghetti sauce, peaches, pears, raspberries, apricots. We kept finding new recipes to try. Green tomatoes were used in relish, taco sauce and jam. We filled everyone's shelves, passing the goods between my brother, my four sisters, my mother and even my grandma.

Last year was the same. We did over 900 jars. People in the area started bringing us all their old, unused jars because we were begging for them. I felt kind of silly overstocking like that. It's not like we needed 50 jars of spaghetti sauce. I couldn't explain it though, I just had to fill those jars. Then I started to get an idea of why I felt so inspired to can.

Around this time last year, it became apparent to us that we were going to have to move in order for my husband to finish his degree at a university. That meant leaving the cheap rent of my parent's place and finding an apartment that could fit our family. It also meant that our income would be very small, if anything. We tried to save up money, but hubby's hours were unreliable and we were expecting our third child. Seeing that money was going to be short, I decided to store up as much food as possible and live off of that storage for the coming school year.

This year, with the move and getting settled, I didn't really can anything. I just didn't have the time or the tools. My shelves are still full though. There were still plenty of canned goods for us to bring with us as part of our year supply. I don't know if those years of canning will get us all the way through school, but they should get us through this year at least.

Now we've started living off of that supply, and the experiment has begun. The canned goods are just a part of our storage, but I think I've written enough to bore you for one post.
I'll write more about our preparations for surviving college tomorrow... or maybe Monday. There's no school tomorrow, so my schedule will be shot.

04 August 2010

Canning time


I love canning season! My sister and I have kind of a deal worked out. She buys the produce, and I can it. I think we canned over 900 jars of food last year. I'm not sure how it will work out this year, since I'm moving two hours away, but I'm sure I'll figure something out. Something I'm wanting to try is the tattler reusable lids. I am planning on buying some before things get too busy, but I'm also hoping to win some from the give away at Homestead Revival. I didn't get them the first time. Maybe I'll get lucky this time.
My latest canning project was my beets -- not a lot there at 1 and 1/2 pints. I'm also canning some chicken to free up freezer space for other things. I caught a good deal on boxes of chicken, so I filled the freezer, but now, I'm wanting the space for other things. I would take a picture of the canned chicken, but it's really not pretty at all. The canned cider from last year is much prettier to look at. It is nice to know I have some meat on the shelf in case we lose power. I find it's also handy to have the precooked chicken for making chicken enchiladas or chicken chili. My husband just found out that I've been using canned chicken for the past year. He never noticed a difference, so he's on board now too.
Soon I'll be neck deep in tomato soup, spaghetti sauce, salsa, chili sauce, fruit of all varieties and anything else we can come up with. I love the feeling of my shelves being full.